kyth + kyn’s Glow

Glow by kyth + kyn
Herbal Infusion / Straight
$11.99 for 1 bag (5 servings)

First Impressions

I was first introduced to kyth + kyn in November, at the 2018 Vancouver Tea Festival. The idea behind kyth + kyn is to modernise traditional Chinese medicines, in particularly when it comes to the teas and soups. This concept really spoke to me because a lot of the ingredients being used in kyth + kyn’s tea blends were familiar to me. They’re ingredients that I grew up drinking (begrudgingly…), but now that I’ve grown up, I’m more appreciative of the flavours and the purpose behind the ingredients.

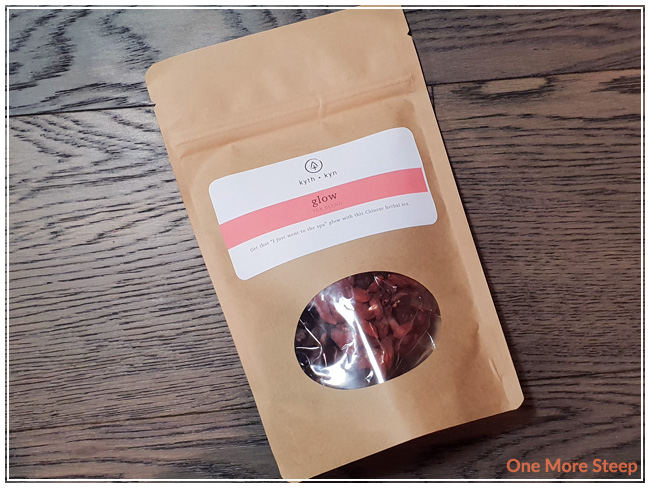
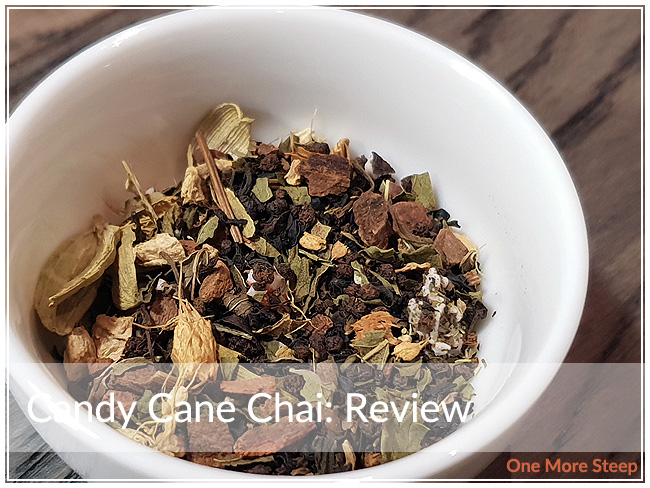
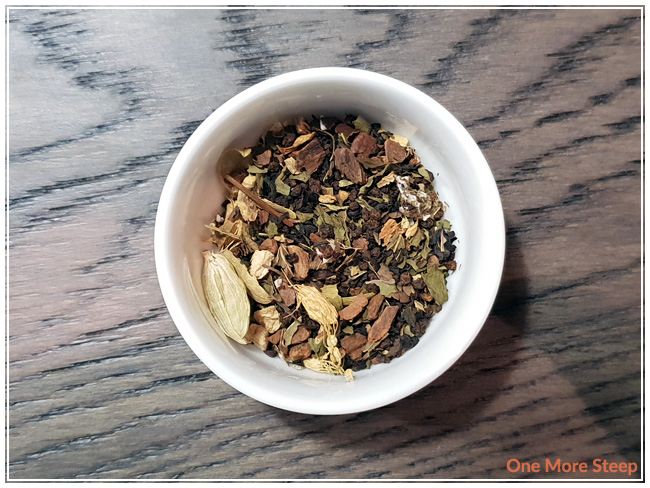
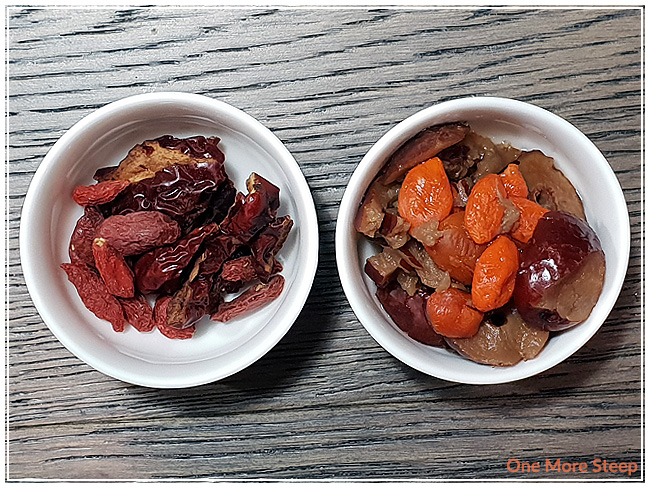
The ingredients for Glow are in separate plastic bags (resealable), which come in a sealed paper pouch that is also resealable and is plastic lined. Glow consists of dried red date and dried goji berries – each in separate bags. The aroma of the ingrediets are sweet, they remind me of walking into Chinese medicine shops as a child in Chinatown – there’s just something really familiar about it. Red dates have more of an aroma than the goji berries do, but I think that is par for the course.

kyth + kyn lists some of the positives about the ingredients on their product page for Glow. Red dates are high in vitamin C, help to regulate blood circulation, and contain flavanoids and sapoins (which promote sleep and relaxation). Goji berries have been in the news a lot lately because they are a super antioxidant, and they also help to promote healthy liver and kidney function, promote healthy skin, and also help to relieve stress and anxiety.

Preparation

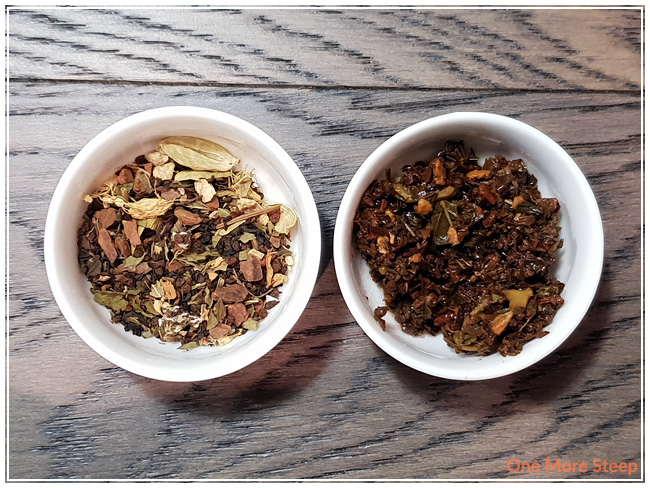
kyth + kyn recommends combining 1 tablespoon of red dates with 1 teaspoon of goji berries in hot water, and then allowing it to steep for 15 to 20 minutes. I did measure out the ingredients and then tossed it into my teapot. I used 100°C (212°F) water since the temperature wasn’t specified. I let Glow steep for 20 minutes (and nearly forgot about it because it’s such a long steep time!).

First Taste

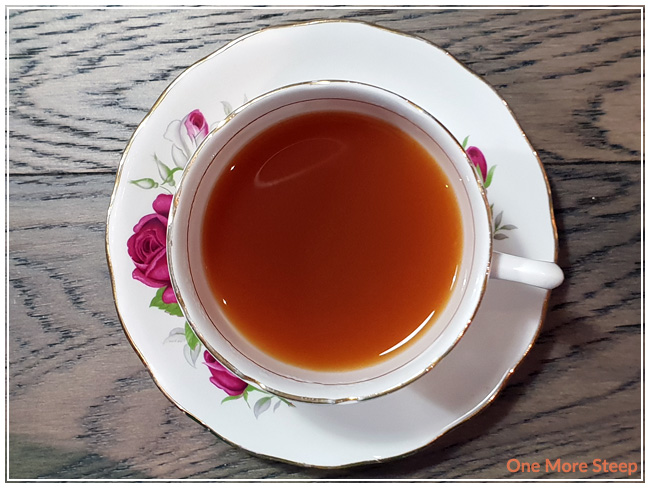
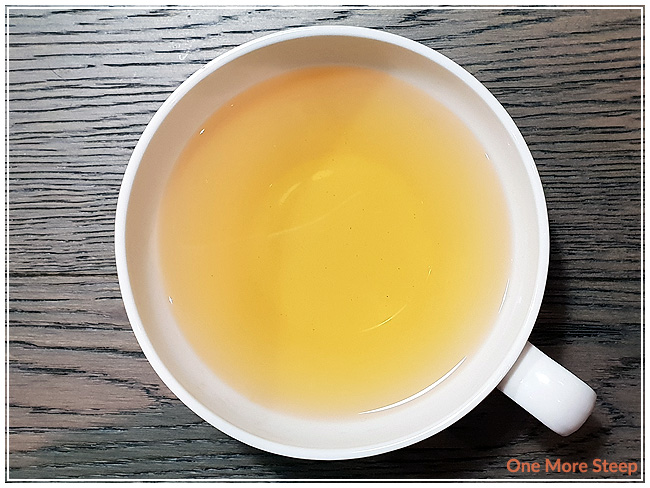
Glow steeps to a beautiful bright yellow, although it’s more of an orange in the teapot. It reminds me a bit like sunshine. The aroma from the tisane is mildly sweet and smells like dates primarily. The flavour of Glow is a nice balance between the red dates and the goji berries. There’s a slight tartness from the goji berries that is off-set by the sweetness from the dates, which lends itself to be quite tasty. I found the flavour to remind me a bit of apples, it just has that freshness to it that reminds me of biting into an apple.

A Second Cup?

I attempted to resteep Glow. It is an herbal tisane, so I found that it didn’t resteep well at all – which was to be expected. The first resteep was very watery compared to the initial steep, I would say that Glow is good for just one steep.

My Overall Impression

I loved kyth + kyn’s Glow. Perhaps it’s because this tisane blend reminds me of my childhood, or because I just really enjoyed it – but I’m giving Glow a full four cups for the flavour, the balance between the goji berries and red dates, and for just being a good cup of tea. I love how kyth + kyn outlines the properties of the ingredients so I know what I’m drinking and what it’s good for. Pro-tip, you can eat all the ingredients if you want to (or toss them into a soup to get more out of it).

Curious about the cup rating system? Click here to learn more.

Lemon Lily’s Candy Cane Chai

Candy Cane Chai by Lemon Lily
Black Tea / Flavoured
$9.00 for 50g

Lemon Lily’s Candy Cane Chai came to me as part of The Sugared Teacup’s December themed subscription box.

First Impressions

It’s never too late for a little peppermint and cheer in your cup, right? I received Candy Cane Chai as part of my December box from The Sugared Teacup and I’ll be zooming through those teas before they get out of season. Candy Cane Chai comes in a familiar white, matte foil bag that is resealable (which is awesome!). The aroma of the tea itself is heavily ginger and cinnamon, I can’t really make out the peppermint from the candy cane at all, which is a shame. The candy cane pieces that I do see are speckled and mostly covered with the other ingredients.

As per the label on the bag I received, Candy Cane Chai consists of: black tea, cinnamon, ginger, cloves, candy cane and natural flavours. According to the product page on Lemon Lily’s website, Candy Cane Chai consists of: black tea, cinnamon, ginger, peppermint, candy cane, and vanilla bean. I also see the shells of cardamom pods in my tea, so I’m questioning how accurate the ingredients lists are. I didn’t really smell any peppermint in my blend, so I’m not sure when the blend was changed.

Preparation

Lemon Lily recommends steeping Candy Cane Chai in 212°F (100°C) water for 4 to 6 minutes. I did a 5 minute steep.

First Taste

Candy Cane Chai steeps to a cloudy brown, which is due to the candy cane pieces. The tea itself has a strong cinnamon and ginger aroma to it, and I can smell the peppermint from the candy cane pieces. There’s a nice sweetness to it, but I do wish that the candy cane came through more since it does have some heavy chai spice flavours to it.

I did add some cream to my cup and found that it was tastier with it, and I also happen to have some leftover candy canes to stir into my tea… This also helps boost the peppermint flavour a lot! Highly recommend doing this to make it live up to its name.

A Second Cup?

I attempted to resteep Candy Cane Chai and found that it didn’t hold up to being resteeped. The peppermint aroma was gone and the spices weren’t as strong as the initial steep.

My Overall Impression

I thought that Lemon Lily’s Candy Cane Chai was just okay. I’m a little torn between giving this one or two cups, because there’s some confusion for me with the ingredients listed on the packaging versus on the website. Did I get old stock? When did the blend change? I found the chai spice level to be pretty good and tasty, I just wish that the peppermint/candy cane flavour stood out more, was stronger, and had a presence in the steeped tea. I would definitely recommend adding in some milk or cream, and then using a candy cane as a stir stick to make it more like a tea latte – I think the addition of a candy cane and cream would really help it to live up to its name. Overall, I think the blend works well as a chai blend, but it doesn’t live up to my expectations on the holiday flavours.

Curious about the cup rating system? Click here to learn more.

DIY: Tea Sugar Scrub

A few weeks ago, I had Katrina (@kdreyerco) over for a little afternoon DIY-ing. She came armed with pockets full of essential oils – all of them just smelled so good and we put them to good use by making sugar scrubs! These were so easy to make and they can be easily incorporated into your skin care routine. I’m all about self-care these days, and having sugar scrubs on hand really help with my skin care routine. I use sugar scrubs about twice a week (every 3 to 4 days) and I find that it’s frequent enough for me to keep my skin feeling extra smooth.

If you’ve never used a sugar scrub before, they are fantastic at exfoliating – the sugar helps to remove the surface skin cells and they can help hydrate your skin. You can use almost any type of sugar (don’t use powdered/icing sugar!) for your custom made sugar scrub. Brown sugar is softer, so it’d be a better choice for a sugar scrub that you’re going to use on your face. Raw granulated sugar is often more coarse, so it might be a better choice for your body or feet. Sugar scrubs can rub your skin raw if you’re using them too frequently – I find using them once or twice a week is sufficient, but you should keep your own skin sensitivity in mind and consider what part of your bod you’re using it for. I use about a tablespoon of sugar scrub at a time, I tend to use them on my feet. If you’re new to sugar scrubs, I would recommend making a small, single-use batch and test it out to see if it works for you and your skin.

These tea sugar scrubs are super easy to make and they only contain four ingredients! Some of which you may already have in your kitchen, which is a nice bonus so you don’t have to go to a store to buy anything new.

You will need:

1 cup sugar
½ cup coconut oil¹
2 tea bags (contents) or 1 tablespoon of looseleaf tea²
Essential oil(s) of your choice

¹ You can substitute coconut oil for another oil of your choice, I use coconut oil because it has a mild aroma and I find it to be less oily than some other oils out there.
² I find tea bags easier to use because the tea leaves are already finely crushed. If you’re using looseleaf tea, consider breaking the tea leaves into smaller pieces with a mortar and pestle or with a rolling pin.

For a single-use batch, mix together 1 tablespoon sugar, ½ tablespoon coconut oil, ¼ teaspoon tea leaves, 1 drop of essential oil of your choice. This is also a great way to test tea and essential oil combinations to see if you like it before you have to commit to a larger batch!

If you want to make a smaller or larger batch, it is a 1:2 ratio of oil to sugar.

Simply combine all of the ingredients in a bowl – we used 3-5 drops of essential oil per blend. Remember – less is more! I found these great glass jars with rubber seals and lids to store the sugar scrubs in from my local dollar store.

Jasmine green tea with “Peace and Calming”.

The two blends that we made were:

1. Earl Grey black tea with 3 drops of bergamot essential oil
2. Jasmine green tea with 4 drops of a proprietary blend called “Peace and Calming” (contains tangerine, orange, ylang ylang, patchouli, and blue tansy essential oils).

Earl Grey tea with bergamot essential oil.

Some other combinations that might be nice are Earl Grey with lavender or peppermint oil, jasmine green tea with orange or lemon. I think a lot of citrus essential oils would pair nicely with a large variety of tea. I would recommend avoiding teas that are parts of blends (a lot of blended teas have dried fruit or nuts that may not pair well with oil as the dried fruit or nuts may go rancid in the sugar scrub).

Using a sugar scrub is easy. Put the desired amount into your hands (I usually use about 1 tablespoon’s worth each time) and then rub it into the area that you’re wanting to use the scrub on. One tablespoon is enough to do my feet, or my face, or my hands. Rub it gently into your skin and then it off with warm to hot water. Cold water will not do you any favours since there is oil involved.

Sugar scrubs can keep for quite a while, but do be careful when using them so you don’t introduce bacteria into your sugar scrub. I would recommend using a craft stick (e.g. popsicle stick) or a dedicated spoon to scoop out your sugar scrub instead of using your fingers. This can help limit the bacteria and moisture that goes into the sugar scrub (and helps to prevent it from spoiling). When it doubt, give it a sniff! It should smell the same as the day you made it. I’ve made a few sugar scrubs in the past and they kept easily for one month (I finished the batch at the one month mark). If your sugar scrub looks at all discoloured or ‘off’ compared to what it previously looked like, I would err on the side of caution and toss it and use it as an excuse to make a new batch!