Seven Sisters Tea’s Kettle Corn

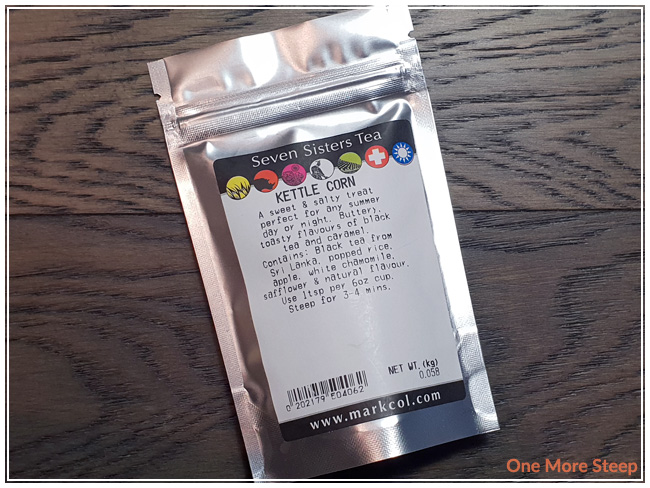
Kettle Corn by Seven Sisters Tea
Black Tea / Flavoured
50g for $3.50

First Impressions

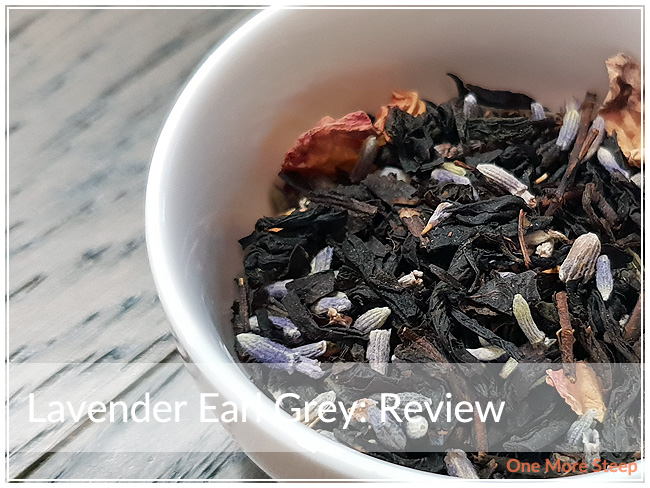
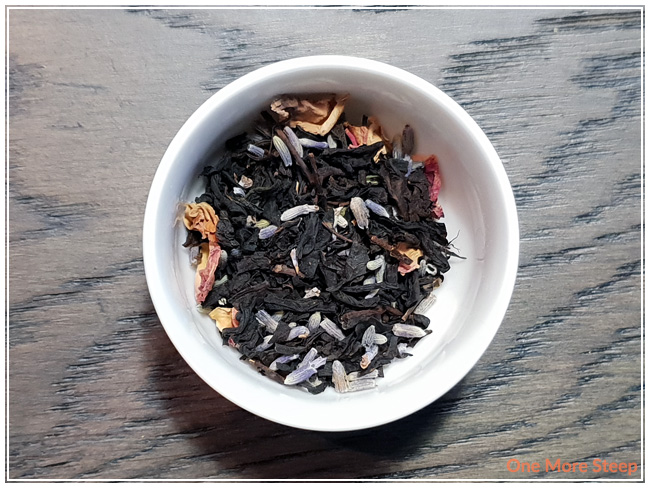
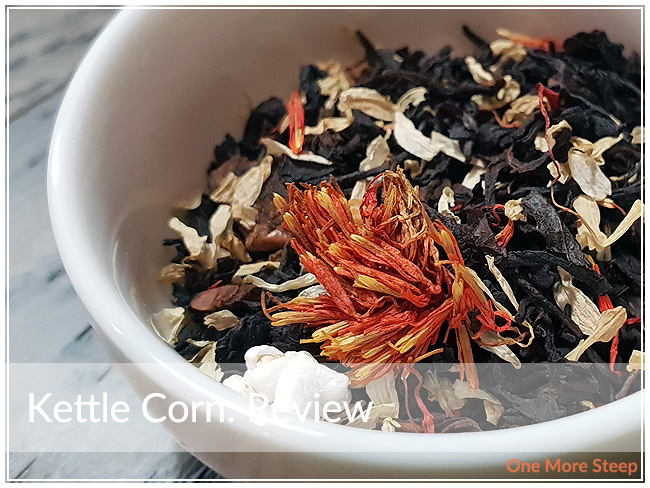
I originally received Kettle Corn as part of an online tea and book swap that I participated in via Instagram! It was a fun way to get to try some new-to-me teas, and it was a great activity in curating a box of goodies for someone. Kettle Corn came in a sealed (and resealable!) foil pouch with all the necessary information on a printed label. The aroma of the dry tea reminds me a lot of caramel popcorn! There’s a very obvious popcorn aroma to it, and I can easily see the puffed rice mixed throughout this black tea blend.

Kettle Corn consists of: black tea from Sri Lanka, popped rice, apple, white chamomile, safflower, and natural flavouring. The ingredients, aside from the flavouring, are all quite visible throughout. I can’t really smell the apple or chamomile though, but it does smell like popcorn which is a huge plus considering the name.

Preparation

Seven Sisters Tea recommends steeping Kettle Corn for 3 to 4 minutes. Because it is a black tea, I opted to use 100°C (212°F) water and I did an initial steep for 4 minutes. If you’re ever stuck on what water temperature to use or length of time for a steep, you can always refer to my guide of Steeping Times for Different Teas as a starting point.

First Taste

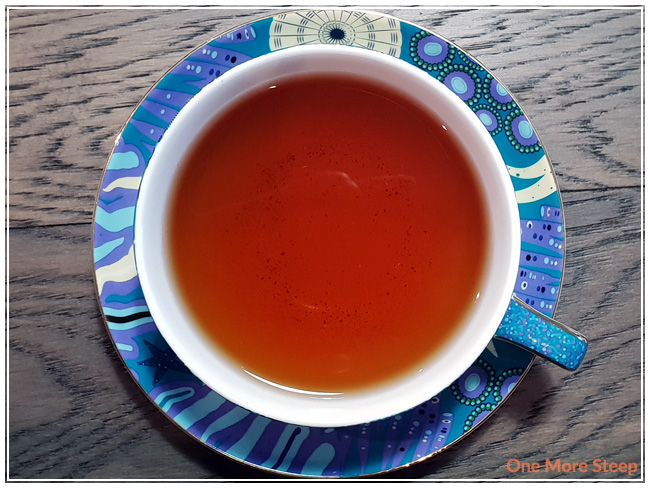
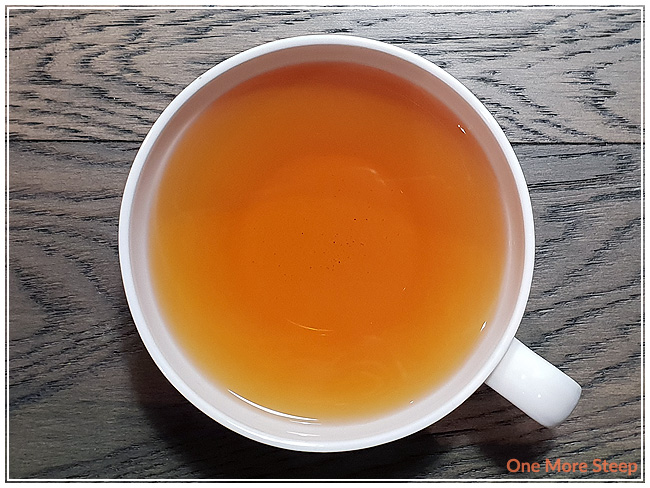
Kettle Corn steeps to a beautiful golden orange. The aroma of the steeped tea reminds me a lot of popcorn, which I think is what Seven Sisters Tea was going for. I don’t get a lot of sweetness from this tea, which I was expecting because of the mention of caramel. I found the black tea base to be good, and I do taste a bit of a chamomile in the steeped tea – there’s a subtle floral aroma in the tea as well.

I did add a little bit of locally harvested honey to the tea, and I found that it helped to bring out those caramel notes by just adding a touch of sweetness. I do wish that the apple came out a little bit more, I think if there was a bit more apple, it would have added some more sweetness to this blend and possibly rendered the use of honey unnecessary.

A Second Cup?

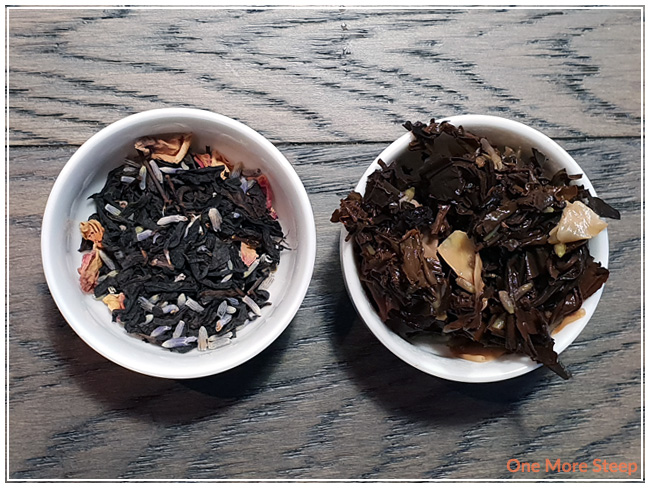
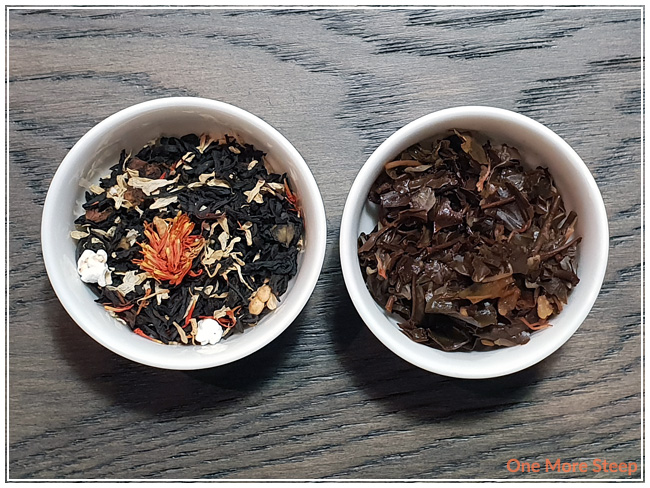
I attempted to resteep Kettle Corn and found that it didn’t have a rich popcorn aroma or flavour anymore. I would say that Kettle Corn is good for one steep.

My Overall Impression

I liked Seven Sisters Tea’s Kettle Corn. I really enjoyed the aroma of the dry leaf and the steeped tea, it was very much on point with the flavour of popcorn in this black tea blend. I did find it lacking in sweetness to pull off the caramel flavours, which is why I did add honey. If you’re not a raging sweet tooth like I am, you might find this tea plenty sweet for you since there is the apple in it to lend some sweetness (I do tend to go a bit overboard at times when it comes to sweets). It’s a very pleasant blend, and I love that it matches really well with my expectations with a name like Kettle Corn. I think it’d be a great ‘fair’ tea – think carnival rides, candied apples, cotton candy, and bags upon bags of kettle corn – or a tea to make you wish you were back at a fair!

Curious about the cup rating system? Click here to learn more.

Gypsy Soul Tea Co’s Lavender Earl Grey

Lavender Earl Grey by Gypsy Soul Tea Co
Black Tea / Flavoured
$7.40 for 40g

First Impressions

Lavender Earl Grey came in a sealed foil bag, with a clear window on the back. The ingredients are easy to see, I can easily see lavender and rose petals mixed in with the black tea leaves. There’s a creamy aroma to it, that’s a bit of a buttery quality to it with a light floral aroma from the lavender and rose petals.

Lavender Earl Grey consists of: black tea, rose blossoms, bergamot, and lavender buds. The ingredients are so easy to see, the bergamot isn’t as strong as the lavender in aroma, but it’s still very pleasant.

Preparation

Gypsy Soul Tea Co recommends steeping Lavender Earl Grey in 100°C (212°F) water for 3 to 7 minutes. My initial steep of Lavender Earl Grey was for 5 minutes.

First Taste

Lavender Earl Grey steeps to a reddish orange. The lavender aroma is quite strong in comparison to the bergamot. There’s a nice creamy mouthfeel to it, with a mild citrus flavouring from the bergamot. I found the rose flavour to be a bit lost compared to the lavender, since the lavender is so strong in comparison.

I did add some sweetener to it (locally harvested honey), and found that it helped to improve the rose flavour notes in the tea.

A Second Cup?

I attempted to resteep Lavender Earl Grey, and found that the floral notes were not as strong compared to the initial steep. I would say that Lavender Earl Grey is good for just one steep.

My Overall Impression

I loved Gypsy Soul Tea Co’s Lavender Earl Grey. I think that Lavender Earl Grey is a lovely take on Earl Grey on its ow, but it’d also be an excellent candidate for a London Fog with a touch of vanilla extract. I found that the lavender flavour had nice strength to it, and the creaminess of the Earl Grey in general was really enjoyable. I do think that the tea improved with a touch of sweetener, as it helped the rose flavour come out more.

Curious about the cup rating system? Click here to learn more.

The Basics of Preparing Matcha

Matcha is Japanese green tea that has been ground to a fine powder. There are a lot of different places to get matcha – I’ve bought some very inexpensive matcha, and I’ve also gotten my hands on some very expensive matcha. The general rule of thumb is that you get what you pay for – meaning that the higher the quality, the higher the price is likely going to be. I tend to reserve the less expensive (read: lower quality) matcha for baking purposes, and I’ve also bought flavoured matcha blends before, which are great for drinking straight, or as a latte.

But how do you prepare it? I have tried preparing matcha without a bamboo whisk before – and let me tell you, the result was less than desirable. Ideally, the traditional tools you’ll have are as follows:

Fine sifter
Spoon
Bowl
Bamboo whisk (chasen)

Sifting the matcha is important. It helps break up any clumps in the powder and makes the whisking part of your matcha preparation a lot easier. Even if you are preparing matcha in a blender bottle (and let’s face it, if you’re adding matcha to a smoothie or making a matcha latte on-the-go, this is a viable option), sifting the matcha powder will help it blend a lot easier.

I start by spooning the matcha powder into the sifter that’s sitting in my bowl. Then I use the spoon to push the powder through the sifter, getting rid of any unsightly clumps that may exist. I find with ‘older’ matcha powder or flavoured matcha powders (that have sugar), they’re more likely to be clumped. Sifting it helps a lot in getting a smoother drink.

Once the matcha has been sifted, I add a small amount of warm water. Then the whisking begins! For those who do not have a bamboo whisk, I found that using a fork or a regular (small) whisk can sometimes work, but takes a longer time to get the powder well suspended. I’ve heard from many people that you should whisk in either a M motion (M for matcha) or W motion (W for whisk). Whichever letter you decide on, just keep doing it repeatedly in the bowl. The more vigorous you whisk, the faster the matcha powder is suspended in the water. It becomes a thick green (smooth!) paste in the bowl – I generally wind up with something that reminds of a syrup consistency.

Then I add more water so it’s closer to the top of my bowl, and continue whisking in an M or W motion. Once I’m satisfied with my whisking, which happens when there’s some foam on the top, I will either drink directly from the bowl, or pour into a larger cup if I’m making a matcha latte.

Take care of your whisk! I rinse out my bowl with warm water, and whisk the water to help clean off the whisk. There are whisk holders that you can purchase which help keep the whisk’s shape and you can pop the whisk onto the holder to dry.

Lastly, practice makes perfect! The first time I tried to whisk matcha, it was pretty terrible. But I also did not sift the powder beforehand because I didn’t think it was necessary (not-a-spoiler: it was and it is important to sift your matcha!). I have gotten a lot better with my whisking skills now, although I don’t always get a crazy amount of foam on top – which is okay too!