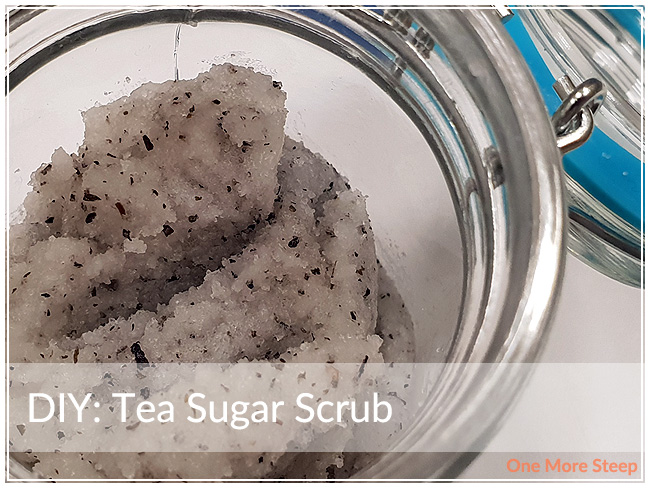
DIY: Tea Sugar Scrub

A few weeks ago, I had Katrina (@kdreyerco) over for a little afternoon DIY-ing. She came armed with pockets full of essential oils – all of them just smelled so good and we put them to good use by making sugar scrubs! These were so easy to make and they can be easily incorporated into your skin care routine. I’m all about self-care these days, and having sugar scrubs on hand really help with my skin care routine. I use sugar scrubs about twice a week (every 3 to 4 days) and I find that it’s frequent enough for me to keep my skin feeling extra smooth.

If you’ve never used a sugar scrub before, they are fantastic at exfoliating – the sugar helps to remove the surface skin cells and they can help hydrate your skin. You can use almost any type of sugar (don’t use powdered/icing sugar!) for your custom made sugar scrub. Brown sugar is softer, so it’d be a better choice for a sugar scrub that you’re going to use on your face. Raw granulated sugar is often more coarse, so it might be a better choice for your body or feet. Sugar scrubs can rub your skin raw if you’re using them too frequently – I find using them once or twice a week is sufficient, but you should keep your own skin sensitivity in mind and consider what part of your bod you’re using it for. I use about a tablespoon of sugar scrub at a time, I tend to use them on my feet. If you’re new to sugar scrubs, I would recommend making a small, single-use batch and test it out to see if it works for you and your skin.
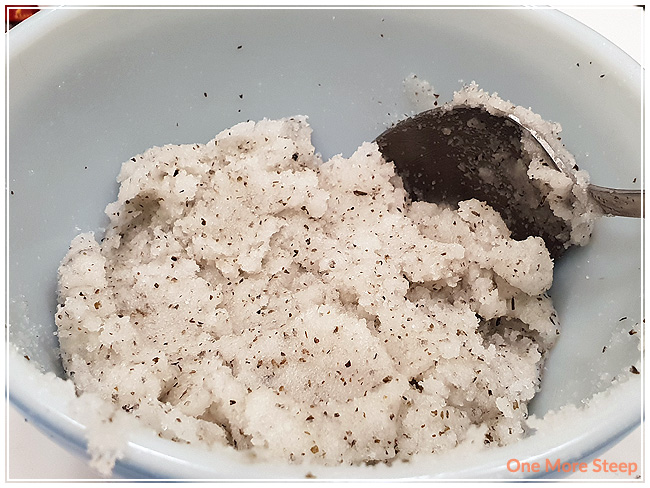
These tea sugar scrubs are super easy to make and they only contain four ingredients! Some of which you may already have in your kitchen, which is a nice bonus so you don’t have to go to a store to buy anything new.

You will need:

1 cup sugar
½ cup coconut oil¹
2 tea bags (contents) or 1 tablespoon of looseleaf tea²
Essential oil(s) of your choice

¹ You can substitute coconut oil for another oil of your choice, I use coconut oil because it has a mild aroma and I find it to be less oily than some other oils out there.
² I find tea bags easier to use because the tea leaves are already finely crushed. If you’re using looseleaf tea, consider breaking the tea leaves into smaller pieces with a mortar and pestle or with a rolling pin.

For a single-use batch, mix together 1 tablespoon sugar, ½ tablespoon coconut oil, ¼ teaspoon tea leaves, 1 drop of essential oil of your choice. This is also a great way to test tea and essential oil combinations to see if you like it before you have to commit to a larger batch!

If you want to make a smaller or larger batch, it is a 1:2 ratio of oil to sugar.

Simply combine all of the ingredients in a bowl – we used 3-5 drops of essential oil per blend. Remember – less is more! I found these great glass jars with rubber seals and lids to store the sugar scrubs in from my local dollar store.
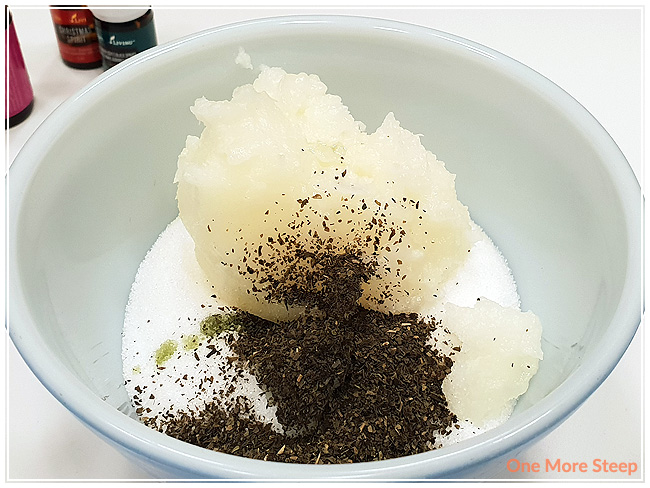
Jasmine green tea with “Peace and Calming”.

The two blends that we made were:

1. Earl Grey black tea with 3 drops of bergamot essential oil
2. Jasmine green tea with 4 drops of a proprietary blend called “Peace and Calming” (contains tangerine, orange, ylang ylang, patchouli, and blue tansy essential oils).
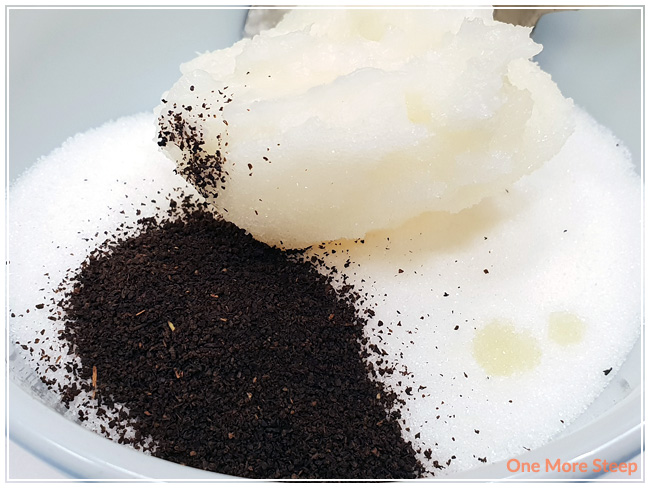
Earl Grey tea with bergamot essential oil.

Some other combinations that might be nice are Earl Grey with lavender or peppermint oil, jasmine green tea with orange or lemon. I think a lot of citrus essential oils would pair nicely with a large variety of tea. I would recommend avoiding teas that are parts of blends (a lot of blended teas have dried fruit or nuts that may not pair well with oil as the dried fruit or nuts may go rancid in the sugar scrub).

Using a sugar scrub is easy. Put the desired amount into your hands (I usually use about 1 tablespoon’s worth each time) and then rub it into the area that you’re wanting to use the scrub on. One tablespoon is enough to do my feet, or my face, or my hands. Rub it gently into your skin and then it off with warm to hot water. Cold water will not do you any favours since there is oil involved.

Sugar scrubs can keep for quite a while, but do be careful when using them so you don’t introduce bacteria into your sugar scrub. I would recommend using a craft stick (e.g. popsicle stick) or a dedicated spoon to scoop out your sugar scrub instead of using your fingers. This can help limit the bacteria and moisture that goes into the sugar scrub (and helps to prevent it from spoiling). When it doubt, give it a sniff! It should smell the same as the day you made it. I’ve made a few sugar scrubs in the past and they kept easily for one month (I finished the batch at the one month mark). If your sugar scrub looks at all discoloured or ‘off’ compared to what it previously looked like, I would err on the side of caution and toss it and use it as an excuse to make a new batch!
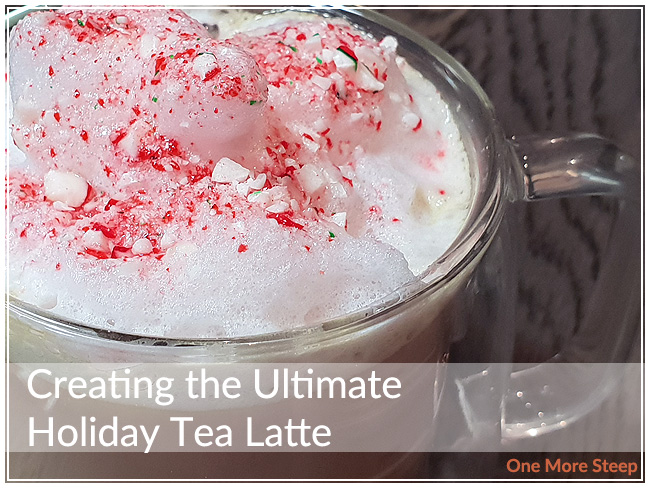
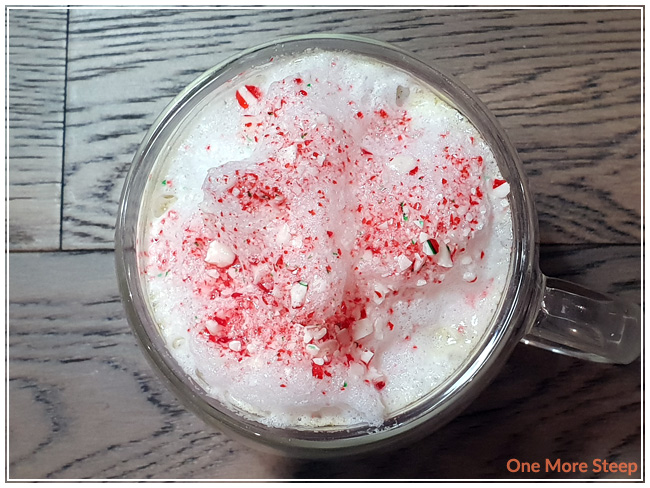
Creating the Ultimate Holiday Tea Latte

I have had colleagues describe me as being a little bit extra when I talked about the tea lattes I’ve made at home for myself. A couple weeks ago, one of my fellow nurses was making a cup of tea during night shift. Which led me to talk about what I made the last time I had that tea (spoiler alert: it was delicious and over the top). I’m all about making my tea lattes pretty and pretty tasty, and this guide for the Ultimate Holiday Tea Latte is really no exception to that rule.

The flavour that I’m all about during the holiday season is peppermint. It is a very winter/holiday flavour that I think a lot of people are familiar with. I love peppermint in my black tea blends, in my hot chocolate, and in candy cane form. There’s just something quintessential about peppermint and the winter holidays and that’s why it’s the basis for my Ultimate Holiday Tea Latte. This article is more of a guide or a how-to instead of a recipe.

Ingredients for this Ultimate Holiday Tea Latte include:

Black tea (either straight or blended with peppermint)
Sweetener of your choice
Milk or dairy-free alternative
Decorations (crushed candy canes, coloured sugar, sprinkles)

To start, make a cup of strong black tea – I use a bit more tea leaves than I would if I wasn’t planning to add milk to it. You can choose a plain black tea, or a black tea blend that already contains peppermint (either in dried leaf or extract/natural flavouring form) and then steep in 100°C (212°F) water for 3 to 5 minutes.

If you’re using a straight black tea, you can add peppermint extract after the tea has steeped. A little goes a long way when it comes to extract, you’ll want to add 1 or 2 drops only. You can always add more extract if needed, but you can’t take away if you pour in half the bottle. Be like Scrooge when it comes to your peppermint extract and be stingy!

Add your sweetener, sweeten to taste and personal preference. I still have some peppermint flavoured agave at a big chain tea store, but you can use honey, sugar, agave syrup – pretty much anything your heart desires. You can read up on different types of sweeteners here. You can also flavour your agave or honey directly with peppermint extract if you’re going to be using it a lot (again, be like Scrooge when it comes to flavouring anything with extract!).

Froth up some milk. Use your preferred method – I use the mason jar method a lot because that’s the equipment that I have on hand. For a little bit of extra holiday cheer, you can opt to use eggnog or whipped cream. It’s a bit more calorie-heavy, but it is the holidays so why not indulge a little bit? Nobody is saying to drink it like this every day…. Or are they? (Side note: I was introduced to chai lattes made with eggnog this year and it is delicious and really tastes like the holidays in a cup, minus the fact that it’s missing peppermint.)

Top the frothed milk with crushed candy canes, coloured sugar, or sprinkles. This really helps set the mood, and make it all the more festive while really putting your tea latte at the top of its holiday game.

And if you’re feeling particularly generous, make a second cup to share. Happy holidays, tea friends!

If you happen to make an Ultimate Holiday Tea Latte that’s at the top of its holiday game, share it on Instagram and tag me so I can see! @onemoresteep #onemoresteep

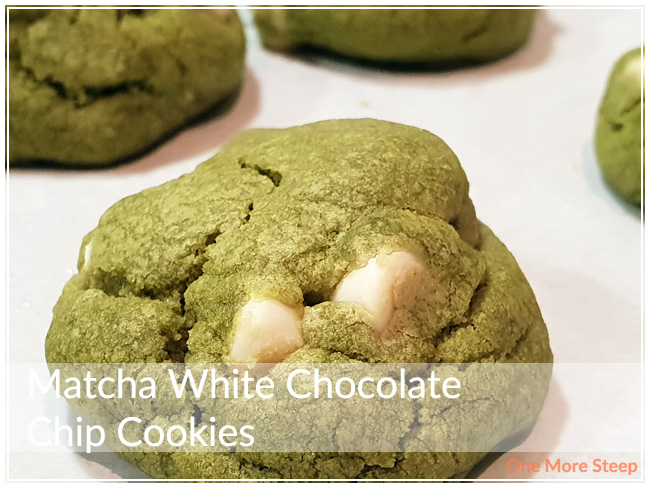
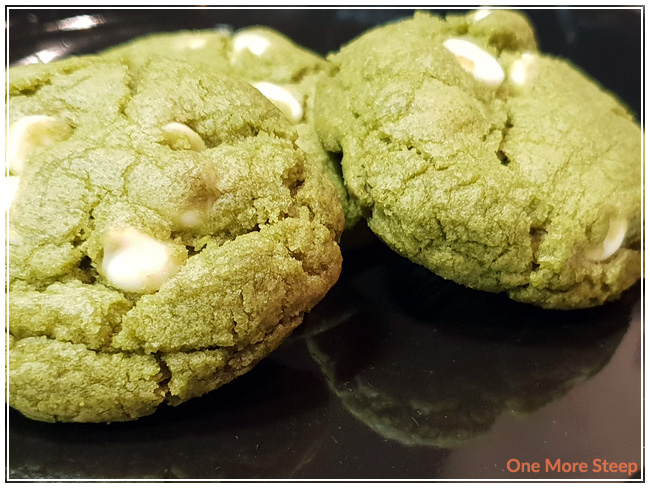
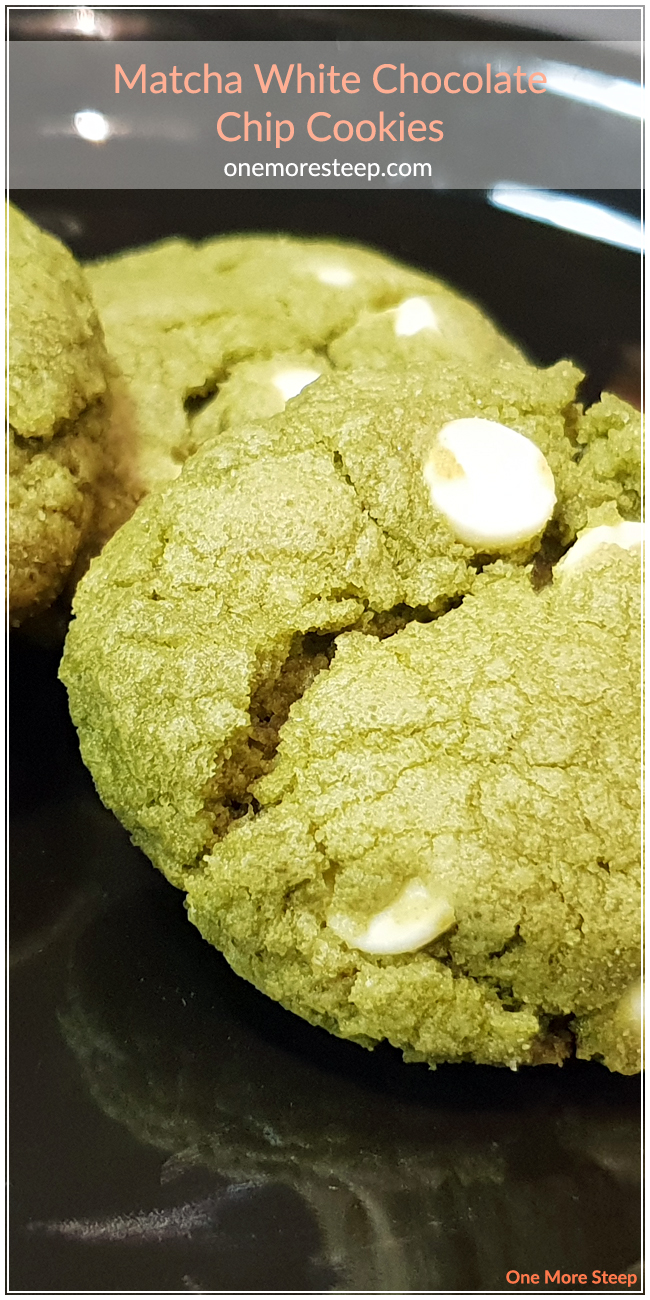
Matcha White Chocolate Chip Cookies

It’s the season for holiday baking, work cookie exchanges, and another tea themed cookie recipe from yours truly! I’m spearheading the cookie exchange at my work this year, so I just had to create something new – my colleagues are starting to have expectations! This is my third year working on my unit, and this is my third cookie recipe on One More Steep! Previously, I shared my recipes for Earl Grey Shortbread Cookies and Matcha Sugar Cookies.

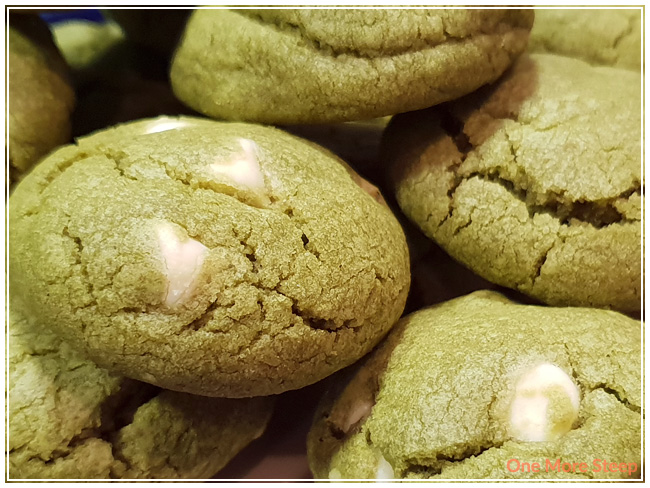
I’m a huge fan of chocolate chip cookies, and I just could not resist changing it up by adding matcha! These cookies have a crunchy exterior with a melt-in-your-mouth inside that is bursting with white chocolate sweetness and matcha goodness. It genuinely reminds me of a matcha latte – and I’m loving it! If you’re a fan of matcha, this is the cookie for you. If you’re a fan of matcha lattes, white chocolate chips, or cookies in general – this is also the cookie for you.

Recipe Yields: 3 dozen. Baking Time: 12 minutes.

Ingredients:

1½ cups granulated sugar
1 cup butter (softened)
1 teaspoon vanilla extract
1 egg
2¼ cups all-purpose flour
1 teaspoon baking soda
1½ to 2 cups white chocolate chips*
2 tablespoons matcha powder

* I used a full bag of Hershey’s Chipits White Chocolate Chips (225g) with each batch, which is just a smidge over 1½ cups. You can use or more white chocolate chips according to your personal preference.

Wanting to make this recipe vegetarian/vegan friendly? It’s easy! Substitute with vegan butter (or margarine), aquafaba (3 tablespoons of aquafaba is equal to 1 whole egg; aquafaba is the fluid from canned chickpeas!), and look for dairy-free white chocolate chips (they do exist!).

Directions:

Preheat oven to 375°F.
Beat sugar, butter, vanilla extract, and egg together until well blended.
Mix in flour, baking soda, and matcha until evenly green.
Stir in white chocolate chips (I found this easier to do with my hands).
Roll dough out into balls that are approximately the size of a rounded tablespoon, lay out cookies at least 2″ apart as these cookies will spread.
Bake 12 minutes or until edges are light brown.
Allow cookies to cool for 1-2 minutes before transferring to cooling racks.

Recipe adapted from Betty Crocker The Big Book of Cookies, “Chocolate Chip Cookies”.

If you make these delicious Matcha White Chocolate Chip Cookies, I’d love to see your photos! Be sure to tag me on Instagram (@onemoresteep #onemoresteep) or comment below with a link to the photo!