Hojicha Latte

Hojicha is a roasted Japanese green tea so it tastes very different from other Japanese green teas that you may be more familiar with, like sencha, genmaicha, or even matcha. Other Japanese green teas are steamed, so the roasting gives it a different flavour profile. Hojicha is often made with bancha, sencha, or kukicha (twigs and stems from the tea plant itself) and the roasting method provides a less astringent steeped tea, which makes it more favoured by children.

This recipe is fairly similar to my Iced Hojicha Latte recipe that I shared back in August of this year, but the seasons have changed and so have my desire to drink an iced latte drink when it’s cold and grey outside. Hojicha Latte does use the same vanilla simple syrup recipe – mostly because a simple syrup is my favourite way of getting a nice liquid sweetener into my lattes.

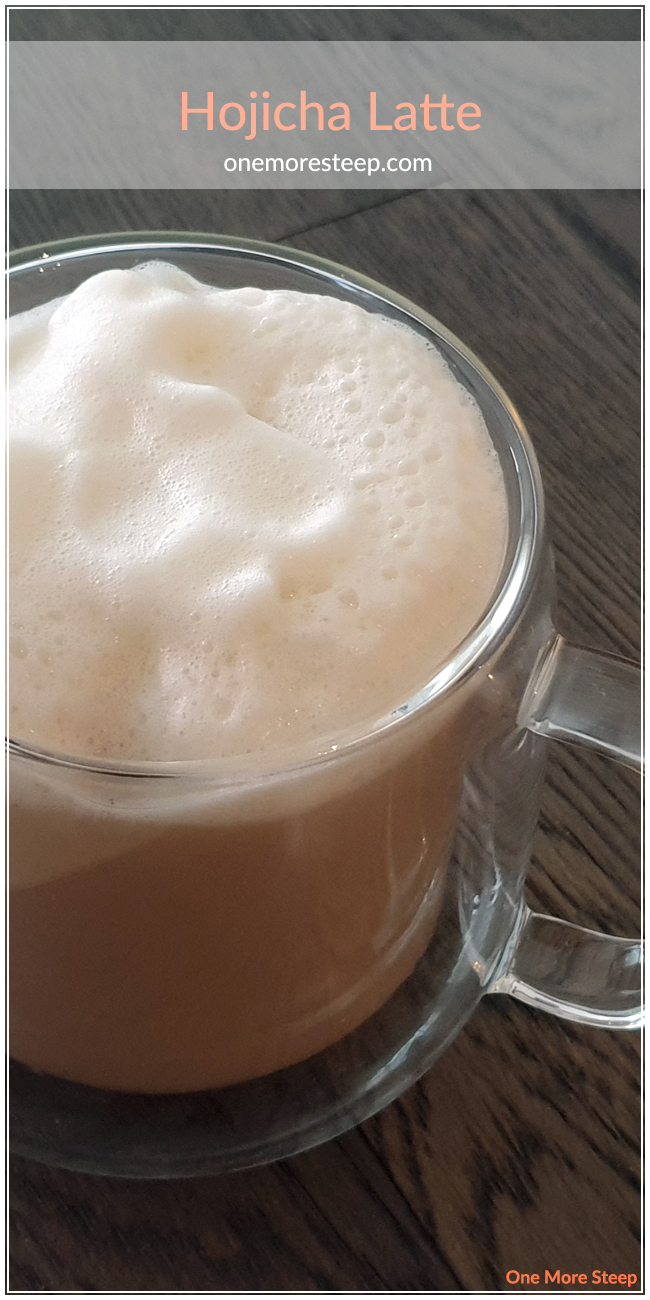
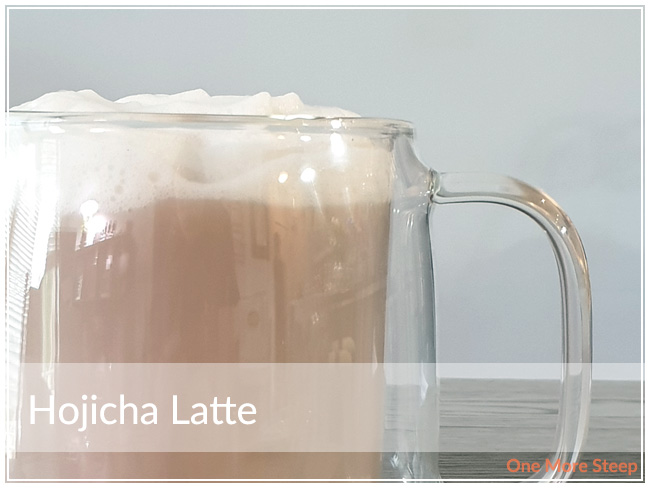
Hojicha Latte – serves 1

1 tablespoon Vanilla Simple Syrup (see recipe below)
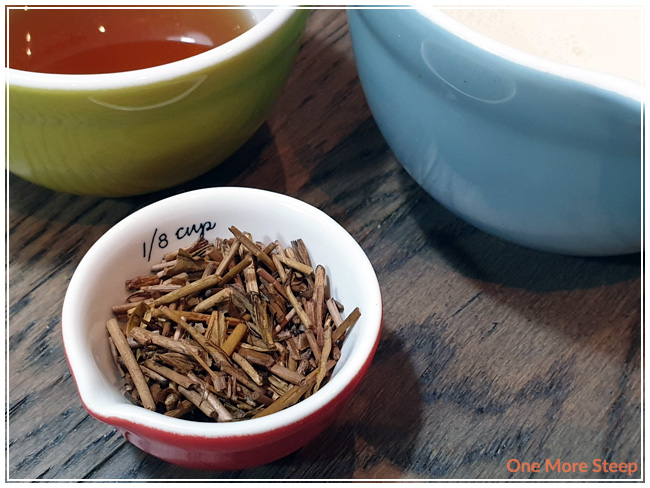
3 teaspoons Hojicha (I used this one)
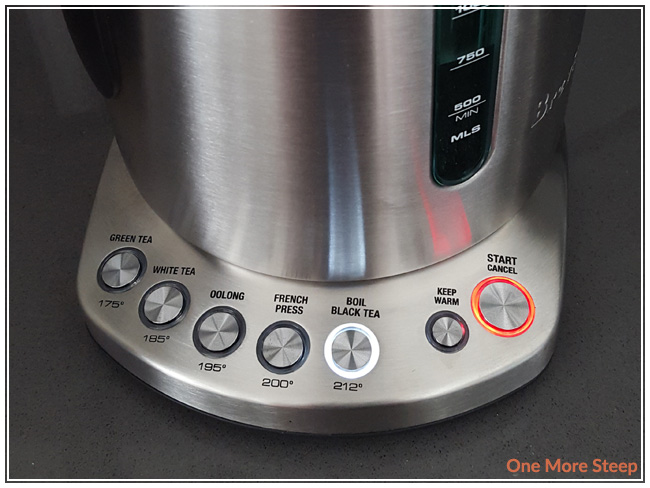
450ml cup hot water (175°F/79°C)
125ml frothed, heated milk (dairy or dairy-free alternative)

I am using a 600ml double-walled latte mug for this drink! If you’re using a different sized cup, aim for two-thirds of the cup of tea and one-third for the frothed milk.

Steep the Hojicha in your cup using hot water (175°F/79°C) water for 2 minutes, then remove tea leaves.
Stir in Vanilla Simple Syrup
Froth milk in a microwave-safe container (use a handheld milk frother or the mason jar method)
Heat milk in microwave in 30s increments, or until milk is to the temperature of your liking
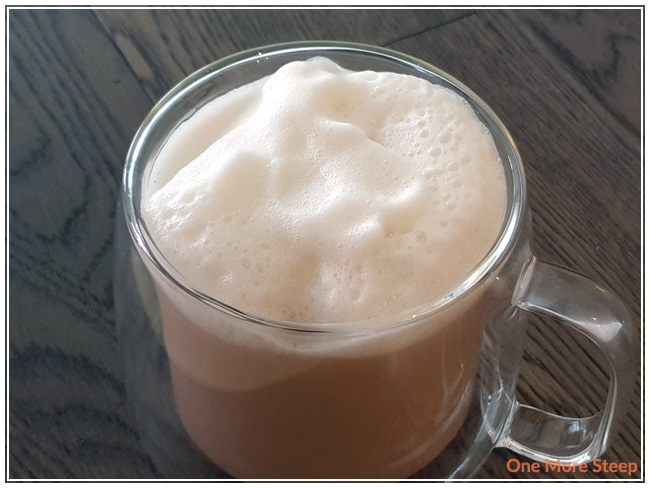
Pour milk into your cup, spoon the froth over the top

Vanilla Simple Syrup Recipe

1 cup water*
1 cup sugar*
2 tsp vanilla extract

* You can make more or less Vanilla Simple Syrup depending on your Hojicha Latte needs. I used pure vanilla extract and organic cane sugar for my Vanilla Simple Syrup in this recipe. The basis of a Simple Syrup is to use a 1:1 ratio of sugar to water.

Combine sugar and water in a saucepan, and place over medium heat.
Stir until the sugar is fully dissolved.
Allow syrup to simmer for 1-2 minutes.
Add vanilla extract.
Remove from heat and allow to cool.
Pour Vanilla Simple Syrup into a jar or bottle and refrigerate.

The Vanilla Simple Syrup will keep for at least 2 weeks in the fridge – don’t forget to label with the date!

If you make this Hojicha Latte, I’d love to see your photos! Be sure to tag me on Instagram (@onemoresteep #onemoresteep) or comment below with a link to the photo!

Gift Guide: Holidays

It may be early November, but is it ever too early to be considering what you’re getting your loved ones for the holidays? As someone who tries very hard to get all of the holiday shopping completed before the month of December (oh yes, I’m that person!), I’m a fan of gift guides because they help me out with ideas or directly influence my shopping plans.

For the Beginner Tea Drinker

Consider a tea mug with infuser. They come in all shapes, sizes, colours, and designs. And what a better way to influence someone to continue their love of tea than making it easy on them? I’m always of the opinion that one can never have enough tea mugs – bonus points if you get something seasonal so your tea loving friend can begin to rotate through the seasons.

How about a tea sampler? You can create your own by assembling some of your favourite teas or base it off of the teas that you know your loved one enjoys. If they’re a recent convert from coffee, considering black teas for the stronger caffeine content (try English or Irish breakfast blends, lapsang souchong or orange Pekoe). If they’ve been drinking tea for a while, try some more rare or expensive teas that they may not purchase for themselves regularly (try flowering/blooming teas, white teas, and oolongs). A nice size for a tea sampler would be between three to six teas. You can buy tea samplers prepackaged or go the DIY route if you have tea that you wouldn’t mind parting with.

And if you’re trying to give a present before the holidays – try a tea advent calendar! This year I’ll be drinking the Tea Advent Calendar from Adagio Teas. There are many available out there and there’s a great assortment of types of teas available in calendars. Last year, I worked through my DIY version – but this option really only works if you have 12 or 24 teas available to you because the idea of purchasing 24 teas just to parcel out into advent calendar-sized servings sounds like a lot of work to me.

For the Advanced Tea Lover

How about a variable temperature kettle? The ability to properly steep a cup of tea is so important and respects the artistry that goes into tea production. I personally love my tea kettle (Breville IQ Kettle) and can’t recommend it enough – I’ve been using it daily, multiple times a day, for more than 3 years now.

20160902-brevilleiqkettle2

Teaware is never a bad idea. A tea-for-one set or a gaiwan is a must for any tea lover. I’m personally a fan of a tea-for-one set because there’s just something charming of a tea pot that sets into the tea cup. But for those who are into Chinese teas, a gaiwan is basically a must have. I personally have two and love using them for green and oolong teas, it makes for an easy way to do quick steeps and I’m slowly getting better at pouring from them without spillage.

Subscription boxes are all the rage these days! You can get them for: food, socks, cosmetics, and also tea. I’ve reviewed subscription tea boxes from a variety of companies and there’s so many more than I haven’t covered. You can often purchase subscription tea boxes in 3, 6, 9, or 12 month increments so you can be sure that your loved one will get tea for an on-going basis, as long as you’d like. Depending on which company you choose, I would expect the monthly cost to be at least $15-20 and all the way up to $50 per month.

Tea is always a great present, in my humble opinion as someone who has both received and been given tea and teaware as a present. After all, what’s not to love about a hot cuppa tea? If you have any gift ideas for the tea lover in your life, add them below in the comments!

Easy Chia Seed Jam

I’m a big fan of easy recipes so when I tell you that this is easy, I mean it! You can make some delicious fruity jam in 10 minutes or less (not including cooling time). And if berries aren’t in season where you are, have no fear because frozen works just as well! I make this year round and it goes great on scones, English muffins, paired with your favourite nut butter, or just on a spoon. After all, if you’re setting the table for afternoon tea – you’re going to have some jam to go with those Lemon & Cranberry or Pumpkin Spice Scones, right?

My Easy Chia Seed Jam is lower in sugar than traditional jams, which makes it also friendly for those looking to cut down on sugar – plus all those chia seeds are an added boost of omega-3 fatty acids, fibre, iron and calcium! If you’ve ever made a chia pudding before, you’ll know that chia seeds thicken things up! That’s what makes this jam more jam-like than fruit juice – give it a bit of time to work, and it’ll thicken up!

Easy Chia Seed Jam – Makes 1½ cups

2 cups berries (fresh or frozen)¹
2 tablespoons chia seeds
2 tablespoons sweetener²

¹ I used a frozen berry mix for the Easy Chia Seed Jam featured in the photos (strawberry, blueberry, blackberry, and raspberry).

² I typically use agave syrup (unflavoured) or maple syrup, but you can opt to use honey or simple syrup (1:1 ration of sugar and water). If you want to keep this jam vegan friendly, then avoid using honey.

Throw in the berries into a saucepan and put it on medium to high heat.
As the juices start to come out, break up the berries with a potato masher.
Once your mashed berries start bubbling, add chia seeds and sweetener.
Turn off heat, stir until evenly mixed.
Allow to cool and then transfer into an air-tight container.

This Easy Chia Seed Jam will keep in the fridge for up to a week, but in my experience it doesn’t last that long. Please note, because of the low sugar content (as well as the lack of pectin) this is not a canned jam or preserve. You do need to keep it in the fridge and use it within a week (if you make a big batch, you can freeze it for later).

If you make this Easy Chia Seed Jam, I’d love to see your photos! Be sure to tag me on Instagram (@onemoresteep #onemoresteep) or comment below with a link to the photo!