How to Make Shaped Sugar Cubes

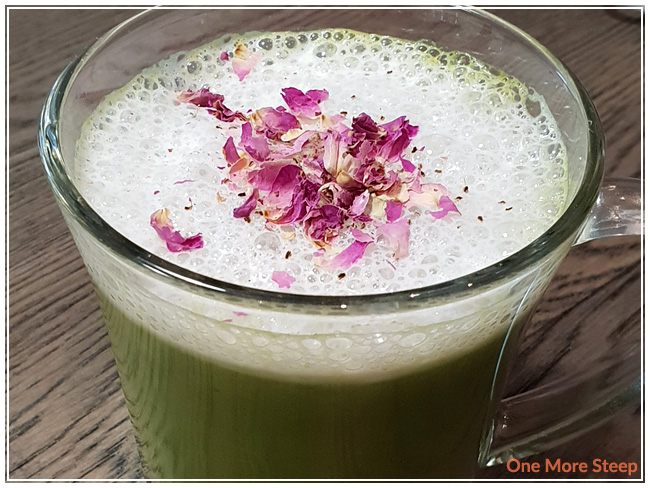
I have made it no secret that I love afternoon tea. There’s something decadent about having three tiers of petite savories and sweets, freshly made Devonshire cream in little pots just waiting to go onto a warm scone, and those little bowls of sugar cubes. I love popping one into my cup and watching it dissolve before adding a touch of cream to a nice cup of Earl Grey.

The frugal girl in me hates the idea of both buying regular white sugar and sugar cubes when it’s all the same thing (right?), and then there’s the lack of organic cane sugar or golden sugar that comes in cube form – at least at my local grocery stores. Which really begs the question: is there a way to DIY it? You bet there is!

Ingredients:

½ cup white granulated sugar (or the sugar of your choice)
1½ to 2 tsp water
Gel food colouring (optional)

You’ll need a bowl and a spoon for mixing, and some kind of silicone mold. A regular ice cube tray has cavities that are much too large. I’d suggest looking at candy molds if your local kitchen supply or big box arts & crafts store carries them (I’ve also had luck finding cute candy molds in some dollar stores). The number of sugar ‘cubes’ you’ll wind up really depend on the size of your molds.

Directions:

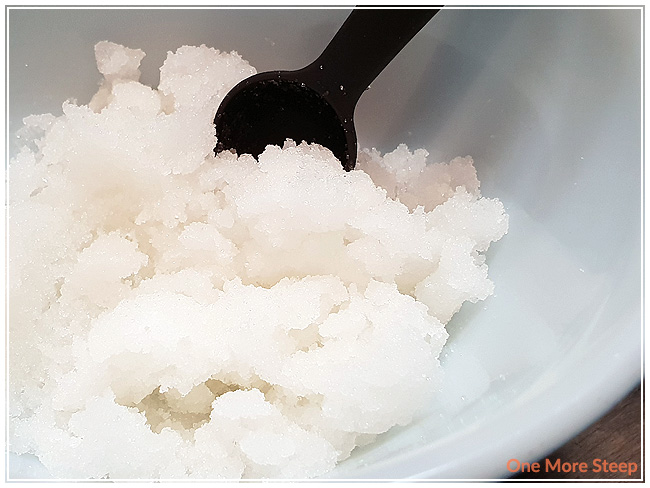
Mix the sugar and water (and food colouring) until it clumps together like wet sand.
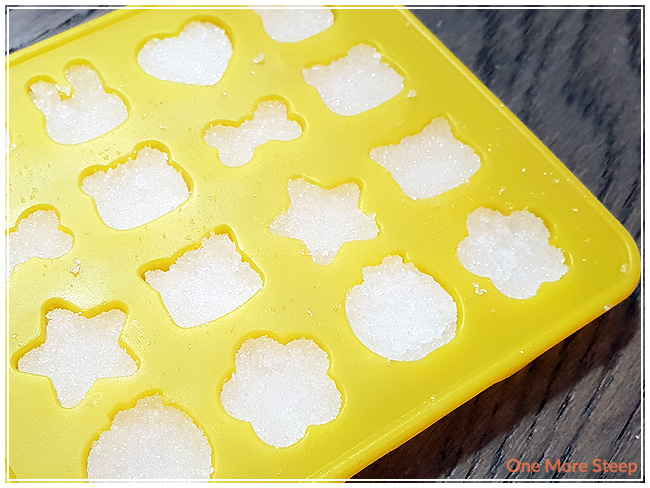
Press the sugar into the silicone mold.
Set the mold aside to dry overnight or for a day. If the mold has very deep cavities, it will take longer for each cavity to fully dry.
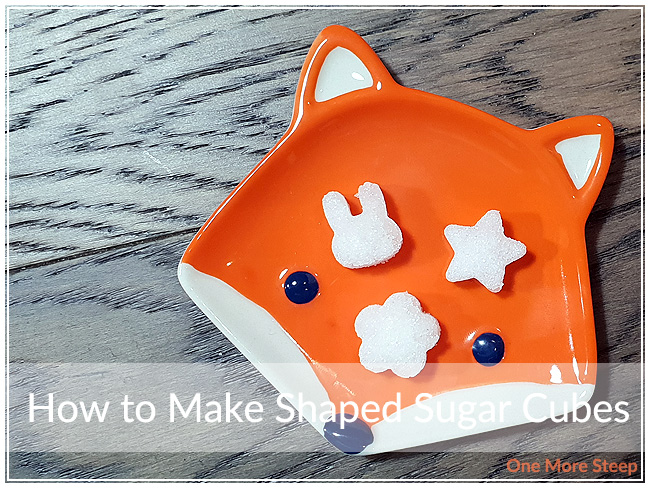
Once dry, you can push the shaped sugar cubes out of each cavity one by one.

If kept in a dry container, these sugar ‘cubes’ should be essentially shelf stable indefinitely (but you probably won’t keep it around for that long). If you are making them for a tea party and you are planning to travel with them, I would recommend nestling them in a paper towel in a small container so they don’t move around as much (less potential for breakage!).

Feel free to colour these sugar shapes for your events! You can easily customize them to be pink for Valentine’s, red & green for the holidays, orange & black for Halloween, and whatever colour you want for a bestie’s bridal shower. As long as you can find it as a food colouring option, it’s a possibility. Custom shaped sugar cubes can be just really darling and really make an even all that more special. Or you can just make your Saturday afternoon tea all that more special for yourself, because why not?


Vancouver Tea Festival 2018: Recap

Over the past weekend, I was at the 5th annual Vancouver Tea Festival, hosted by the Vancouver Tea Society at the Chinese Cultural Centre and the Dr. Sun Yat-Sen Classical Chinese Garden in historic Chinatown in Vancouver, British Columbia. The event happened on Saturday, November 3rd (10am to 5pm) and Sunday, November 4th (11am to 4pm).

Each day of the tea festival had both presentations (included with the price of admission) and tastings (ticketed; I didn’t attend the tastings but I believe they were $5 per person, per tasting). The information was all laid out on the website in advance so I could plan accordingly to make sure I knew when I had to be where.

Herbs from the Herbal Tea-Making Workshop

A sampling of Amoda’s Curated Collection

I was there bright and early, even if Vancouver was living up to its nickname of Raincouver, on Saturday because the presentations that I wanted to attend on Saturday were the first two – Matcha 101 with Kimmy Xiao of Whisk Premium Matcha and Herbal Tea-Making Workshop with Tegan Woo of Amoda Tea and Vivien Hsiung of Vive Wellness. There were some technical difficulties and hiccups on day 1, but the presenters were all very graceful and took it in stride as they kept calm and carried on. Both presentations that I attended were so informative – I learned so much about the history and production of matcha as well as herbal properties and how to blend with intention. Continue reading “Vancouver Tea Festival 2018: Recap”

Rose Matcha Latte

I recently tried a rose matcha latte at a cafe and it tasted like drinking perfume (and I don’t like drinking perfume, or potpourri…). But I was really intrigued by the idea of a rose matcha latte that didn’t taste like a dried bouquet so I set off on determining the right ratios of rose to everything else in order to get the flavour profile balanced, so I hope you enjoy trying out my Rose Matcha Recipe!

Bonus fun fact! Today (August 22nd) is One More Steep’s birthday! I’ve been posting reviews and recipes since 2015. To date, I have written 336 reviews, and this is my fifth recipe!

Rose Matcha Latte Recipe

1 tablespoon matcha
100mL water
1-2 tsp Rose Simple Syrup (see recipe below)
250-300mL milk (or dairy-free alternative), frothed
1-2 crushed petals from rose buds.

Sift the matcha into your bowl (or blender bottle if you’re using that).
Whisk with the heated water, and then pour into a cup.
Stir in the Rose Simple Syrup.
Froth milk – use your milk frother or (my personal favourite method) shake up a mason jar.
Pour milk into the cup of tea, spoon foam over the top.
Sprinkle crushed rose petals over top.
And enjoy!

Rose Simple Syrup Recipe

1 cup sugar*
1 cup water*
1 Tbsp dried organic rose buds

* You can make more or less simple syrup depending on how often you want to have a Rose Matcha Latte, as long as you use equal parts water and sugar. You will want a clean jar/bottle on hand to store the Rose Simple Syrup.

Combine sugar and water into a saucepan and place over medium heat.
Stir until the sugar is fully dissolved.
Allow syrup to simmer for 1-2 minutes.
Add rose buds, stir, allow to simmer for an additional 2 minutes.
Remove from heat.
Once cooled, strain/remove rose buds
Pour Rose Simple Syrup into a jar or bottle and refrigerate.
The Rose Simple Syrup will keep for at least 2 weeks in the fridge – don’t forget to label it with the date!

If you make this Rose Matcha Latte, I’d love to see your photos! Be sure to tag me on Instagram (@onemoresteep #onemoresteep) or comment below with a link to the photo!