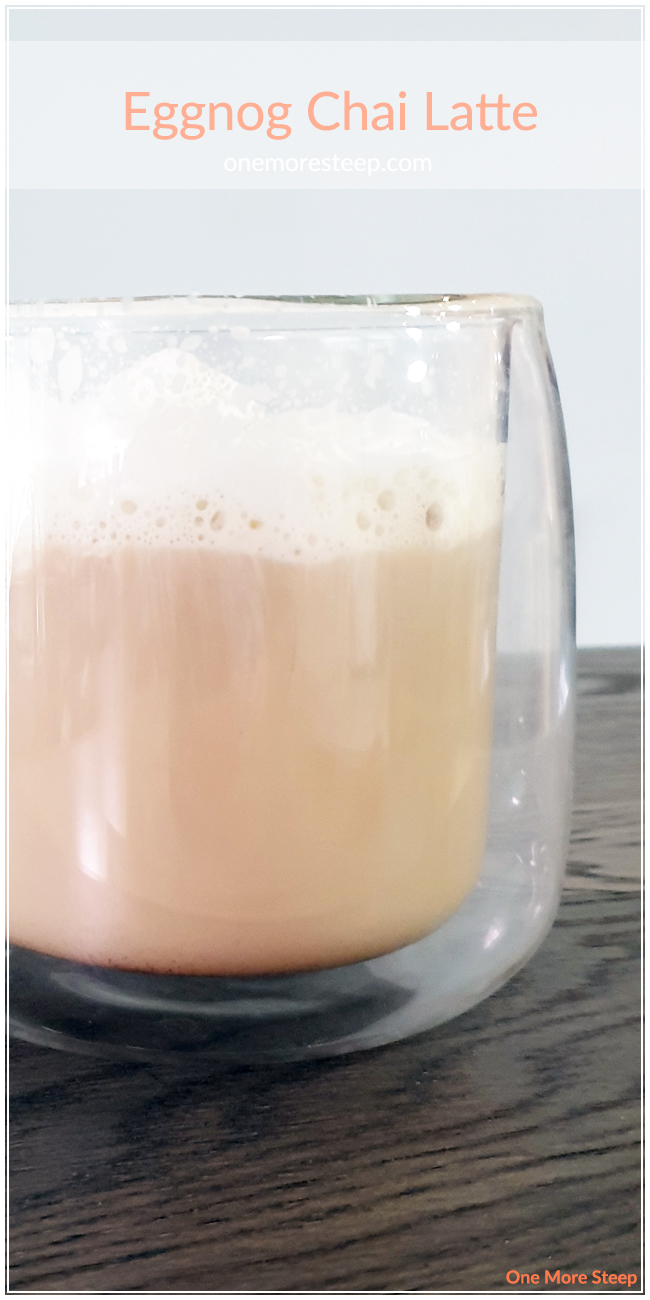
I was first introduced to the Eggnog Chai Latte by a fellow nurse. She literally brought in one for each of us on a night shift and I fell for it hook, line, and sinker last December. I’m constantly a sucker for a good Chai, and the addition of eggnog made it even more seasonally delicious. While the version she brought in came from a popular coffee chain, I’ve opted to develop my own recipe so I can make it at home and have more control over it (plus, I get to be even more fancy with how I create it).
Katie, this recipe is for you.
![]()
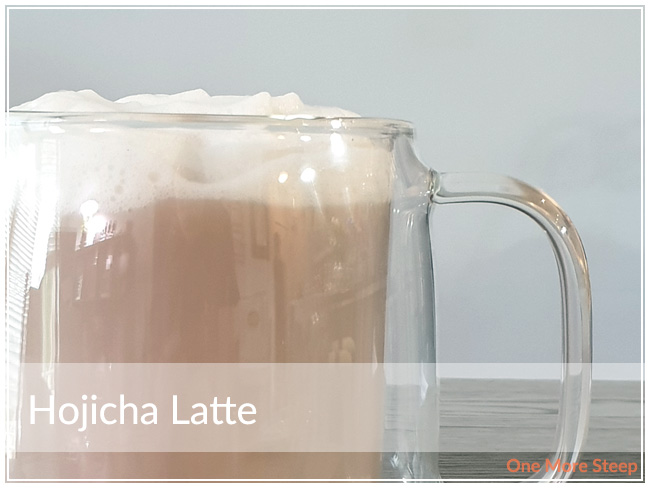
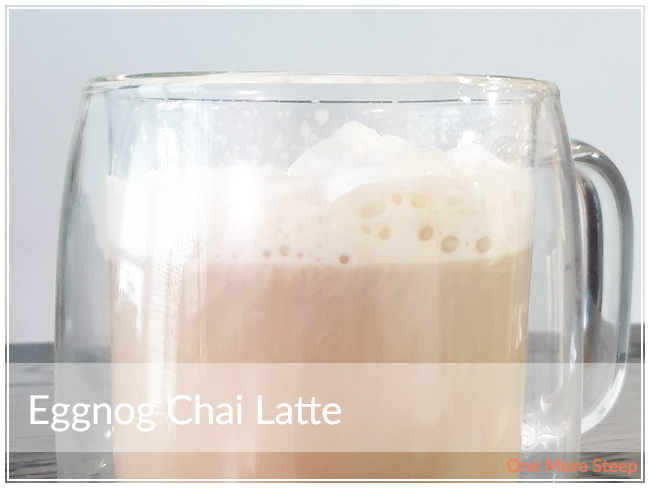
Eggnog Chai Latte – Serves 1
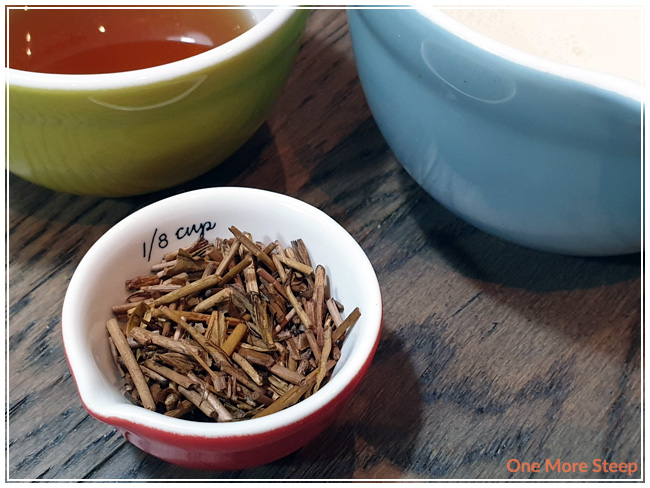
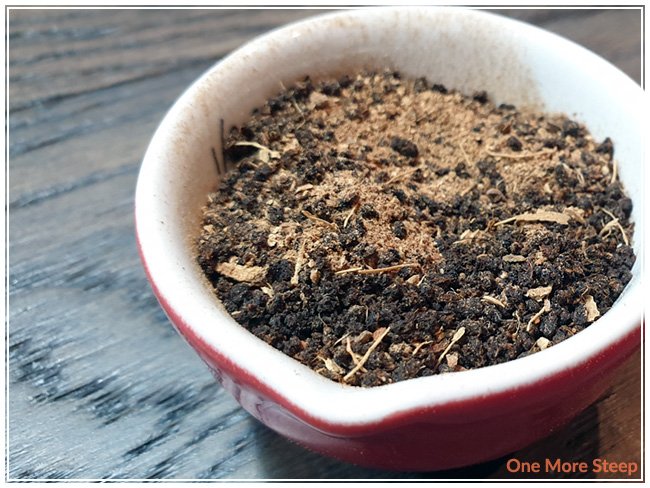
2-3 teaspoons looseleaf chai¹
⅔ cup hot water (100°C/212°F)
⅔ cup milk
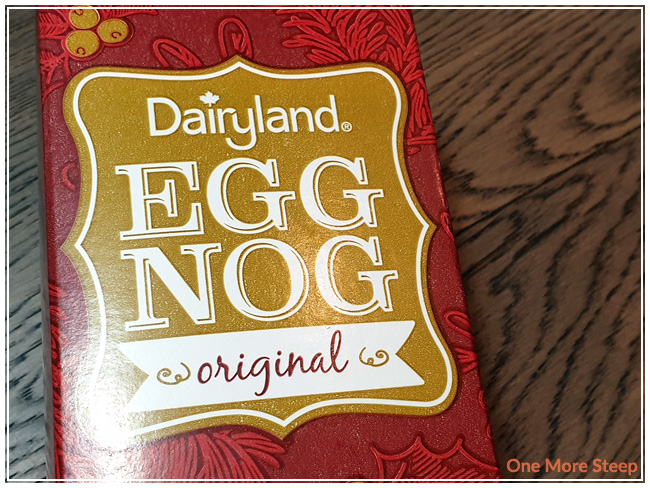
⅔ cup eggnog
Sweetener, if desired.²
Whipped cream³
Crushed candy canes or peppermint candies³
¹ Use your favourite black tea chai blend or 3 tea bags. I used Trudy Ann’s Bombay Masala Chai.
² Use the sweetener of your choice, to taste. I opted for local honey.
³ Optional, for garnish purposes.
TEA TIP! You can make this vegetarian or vegan friendly with a few easy swaps. Nut-based milks, vegan eggnog, and coconut whipped cream are all fairly easily accessible these days at all major grocery store chains. I can’t guarantee that it’ll taste quite the same, but you’ll be able to enjoy the seasonal goodness as well!
![]()
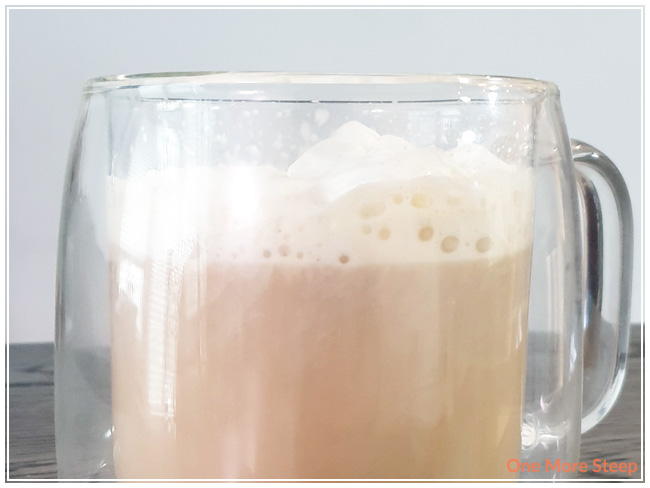
Directions
Steep chai in hot water according to steeping instructions – or for 5 minutes. I did this in a teapot and then poured into my cup.
In a saucepan on medium heat, heat together milk and eggnog (don’t let it boil!).
Add in sweetener if desired, turn off heat.
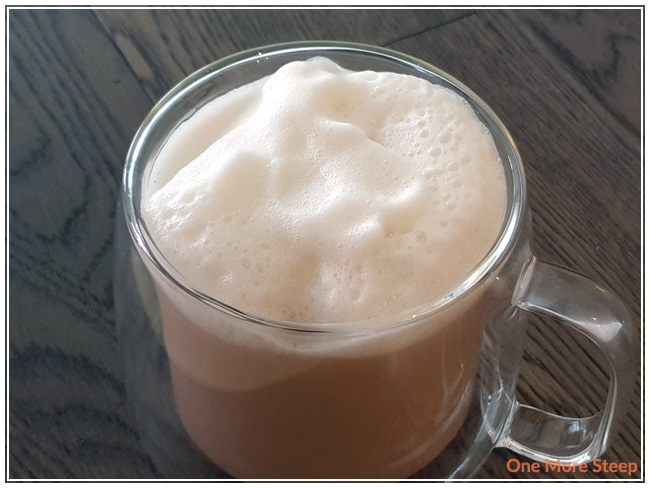
Froth with a handheld frother or whisk.
Add milk and eggnog mixture to your cup.
Top with whipped cream and crushed candy cane candy for an extra bit of holiday decadence.
![]()
If you make this Eggnog Chai Latte, I’d love to see your photos! Be sure to tag me on Instagram (@onemoresteep #onemoresteep) or comment below with a link to the photo!